
Click "Login" on almost any WordPress site, and you land on the same WordPress default login screen.
Grey background. The WordPress logo sitting on top. A blue button in a shade that has nothing to do with your brand. Your visitor just went from your carefully designed site to a page that looks like it belongs to someone else.
The usual fix is to install one of those login customizer plugins, learn its settings, and hope it keeps getting updates.
You do not need it.
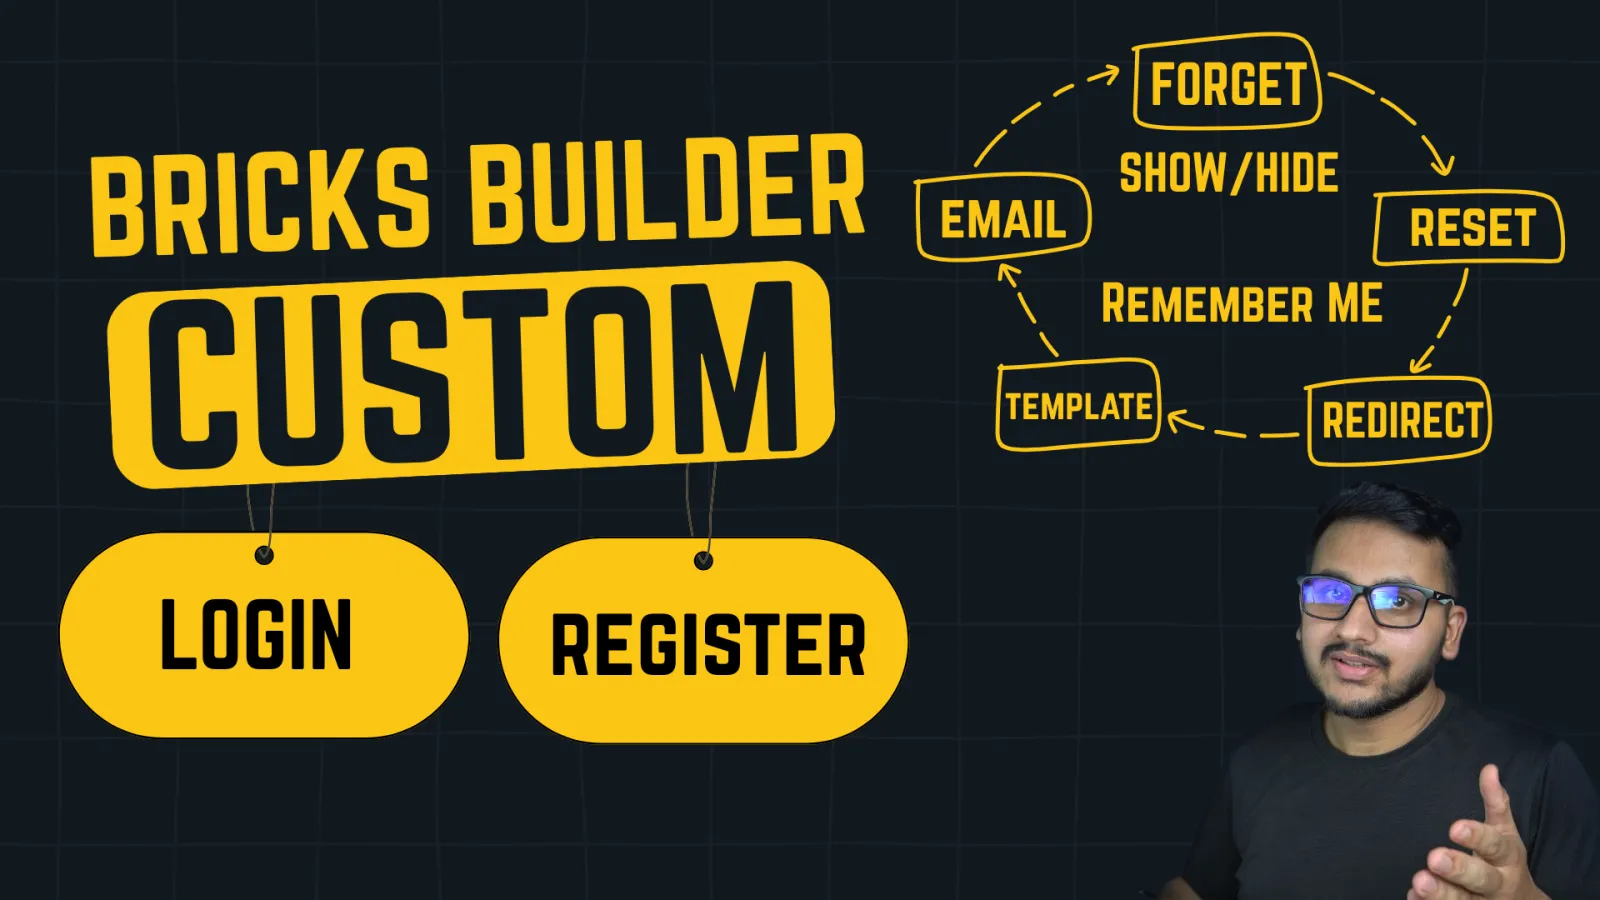
Bricks Builder already ships with everything required to build a login page, a registration page, a forgot password page, and a reset password page, all styled with the same tools you use for the rest of the site.
This guide walks through all four pages, the settings that connect them to WordPress, and the template trick that stops you from rebuilding the same layout four times.
What You Will Learn
How to use the Bricks Form element for authentication
Setting up form actions (User Login, Registration, Lost Password, Reset Password)
Mapping form fields correctly to avoid errors
Adding "Remember Me" functionality the right way
Sending admin notification emails on every login (monitoring)
Building a reusable template for all auth pages
Replacing the default WordPress login page (wp-login) for better security
Adding a password show/hide toggle without any plugin
Why Custom Auth Pages
The default WordPress login page (wp-login) is the #1 target for brute-force attacks. By creating custom authentication pages with Bricks Builder, you not only get a branded user experience, but you also add an extra layer of security to your site.
What You Actually Gained
Four pages, one template, zero plugins.
Your login screen now matches your brand instead of WordPress defaults. Your reset flow keeps users on your domain the whole way through. Your admin gets notified on every login. Your wp-login.php is closed off to bots. And when the client asks for a color change, you edit one template.